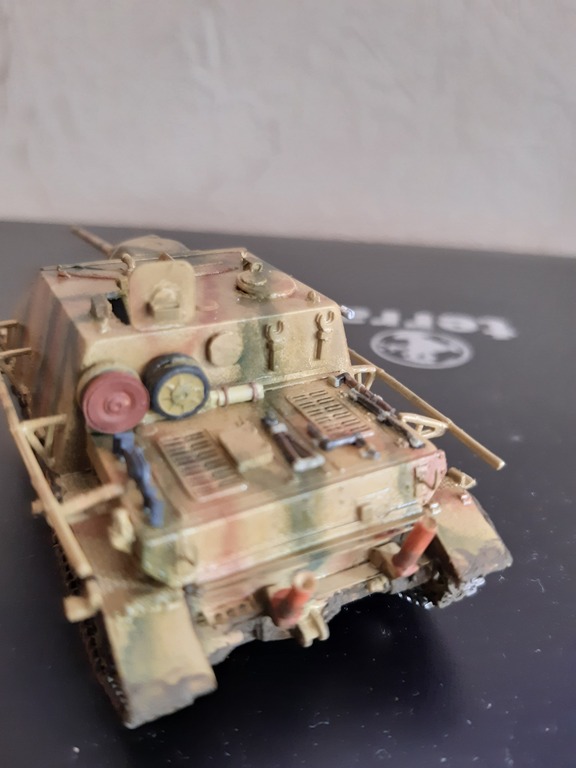
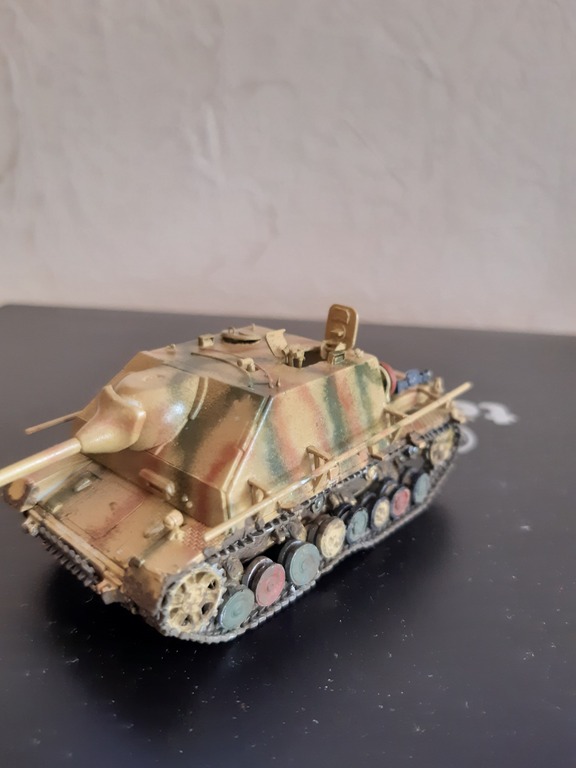
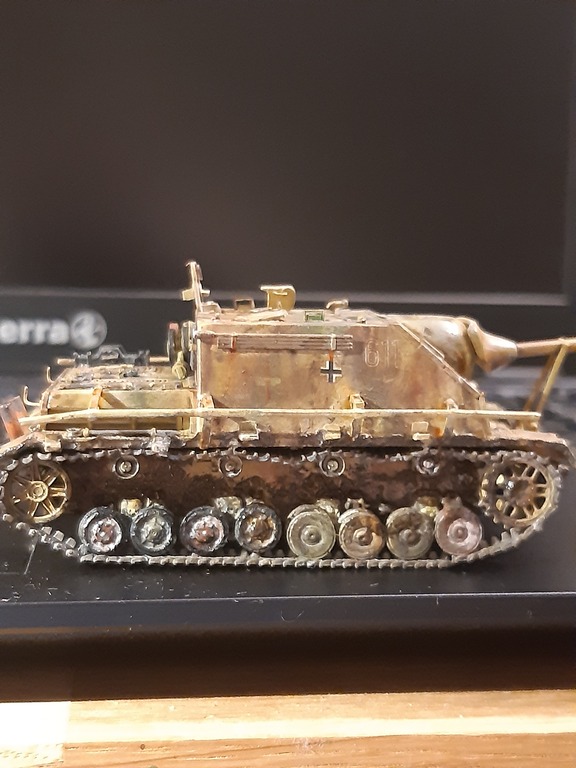
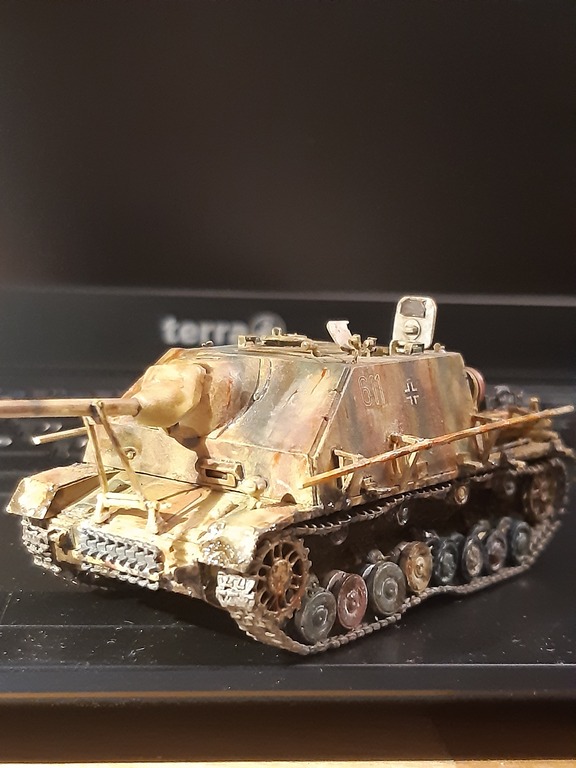
Work in Progress

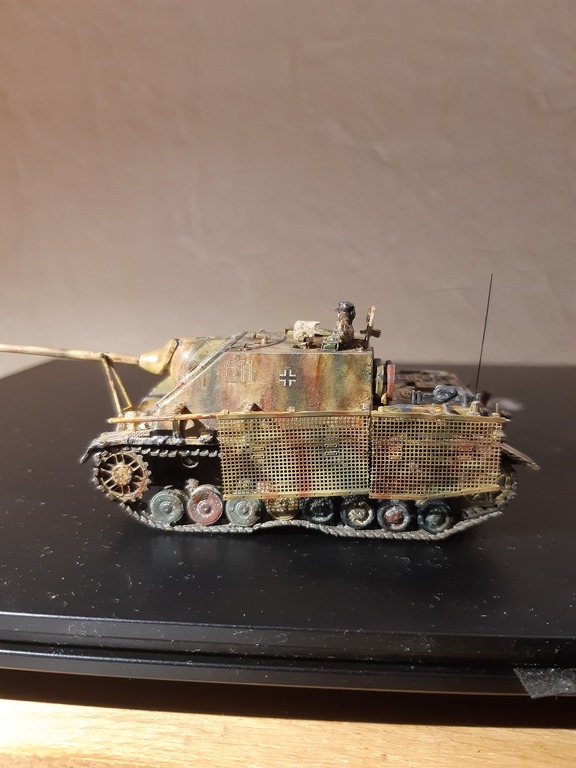
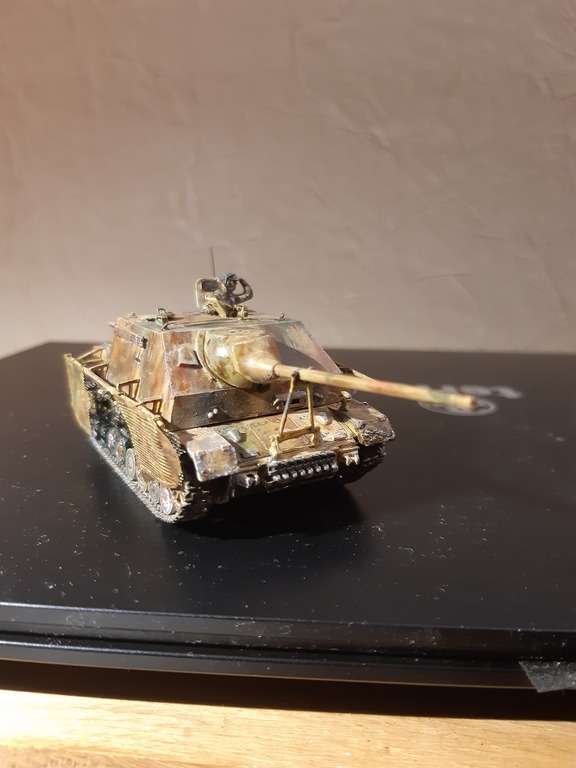
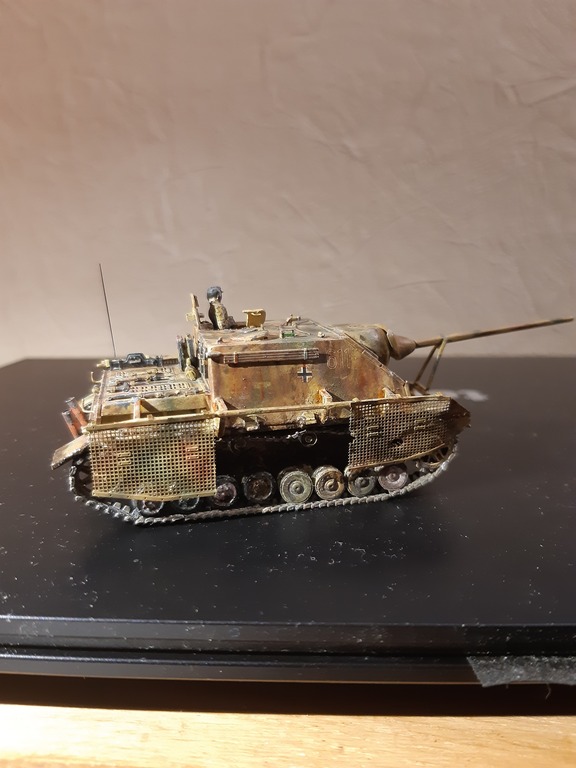
Jagdpanzer IV A 7,5 cm L70

Posted by JurgenH on 25 Aug 2023, 11:38

Hello all
My next model is again from the division "heavy metal".
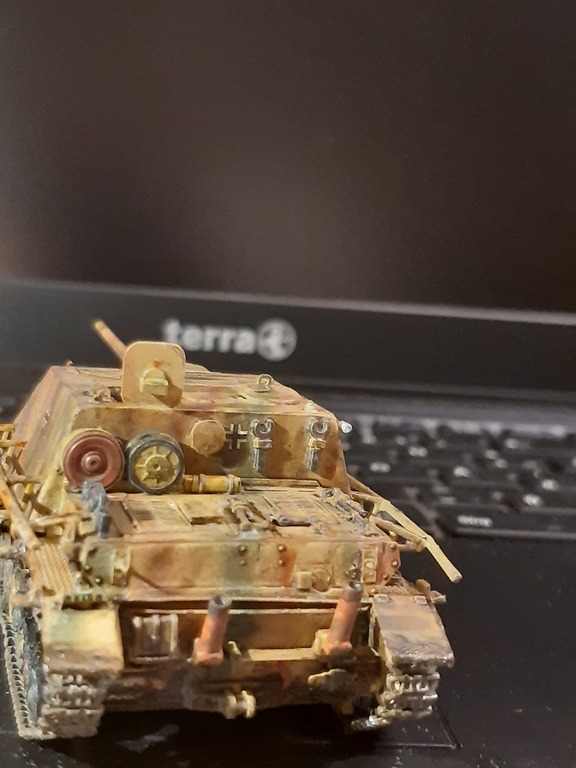
It is the SdKfz162/2 Panzerjäger IV (A) L70.
The kit is from UM. As a complete kit there are not many alternatives, some conversion kits can be found on the market.
Since the BS is fairly new, and also the basis of the PIV is from UM I ordered the BS. On the quality, there is laughing and crying.

Let's start at the bottom.
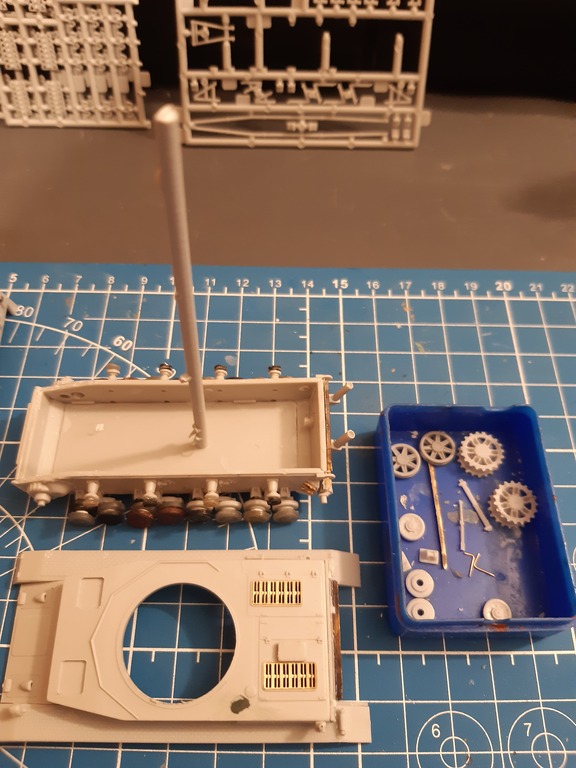
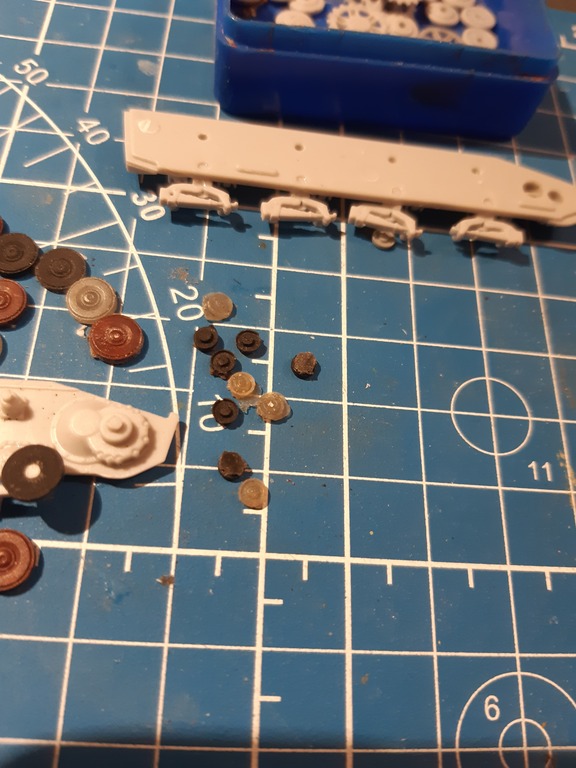
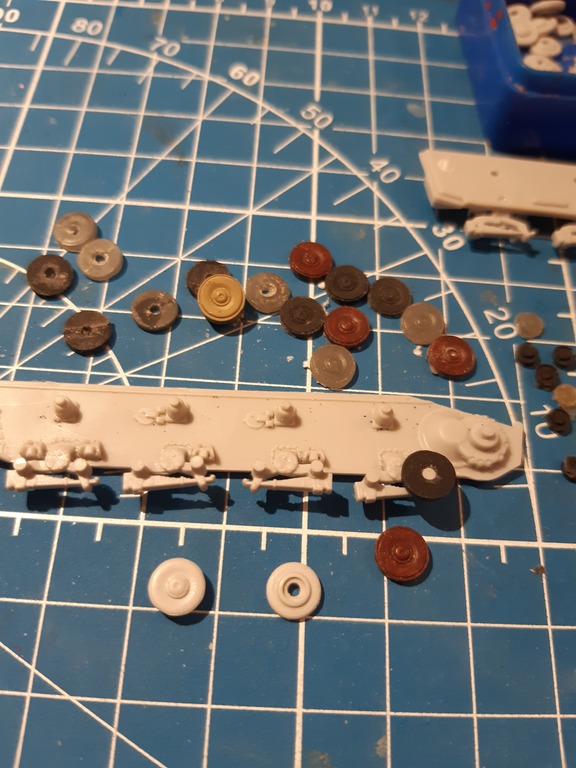
The lower hull consists of 5 parts that must be glued without fits. I have the tub 2 times partially disassemble because otherwise it would not have fit. Where I was very careful. The rollers and support rollers are average. But I had better ones from Dragon and other companies in my leftover box.
Image

Image

Very nice was that the double swing arms are to be glued separately. On one side I lifted it as if it was rolling over an object. The problem was there mounting,completely different mounting systems. For the support rollers I took the inner rollers from the BS and glued mine on the outside.The rollers were a little more complicated to attach. I have spacers of D 3.5mm punched out and glued between inner u outer roller. The front rollers are only Dragon, rear are also castings of me. Copany unknown.
I hope I have awakened your interest.
Some very nice etched parts are used there. The sheet is very delicate and quite sufficient.
The plastic is relatively soft, but can be worked well. However, it does have some decent mold offsets which causes a lot of rework. In return, the scrap box is filled up with many parts.
Upper hull:
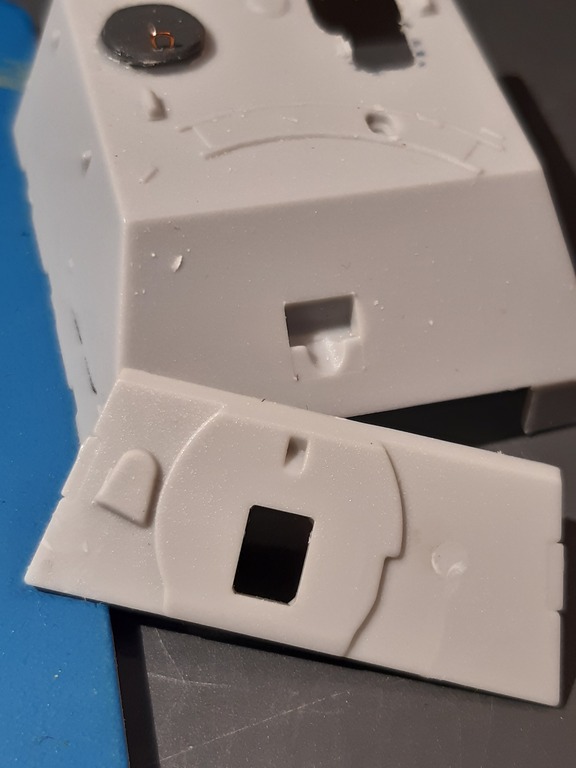
There was one sink spot to work on (green filler spot) and the bullet deflector has to be removed completely. Only rough because the superstructure is coming over it.
The superstructure has a very nice fine casting structure unfortunately with 2 ejector marks in front.
Saved by careful -sanding over. Lightly wetted with Tamiya extra Thinn glue and dabbed with very hard bristle brush. Nothing more to see .thank goodness.
Image


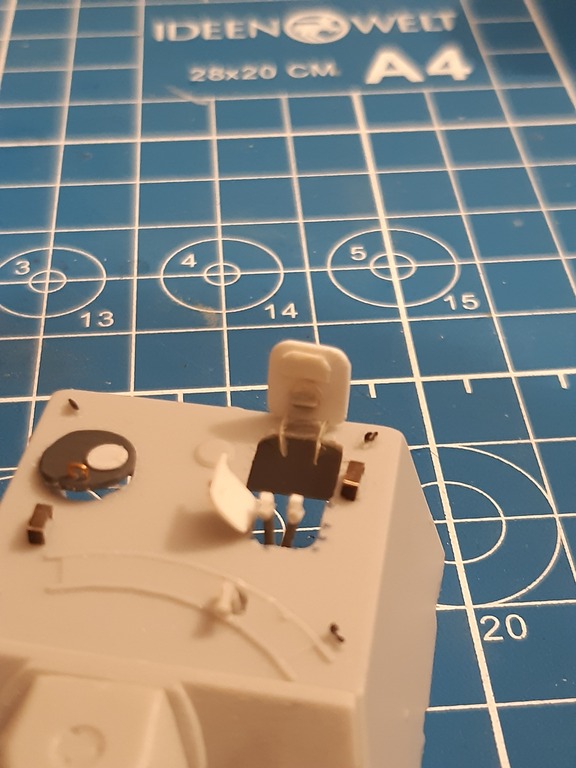
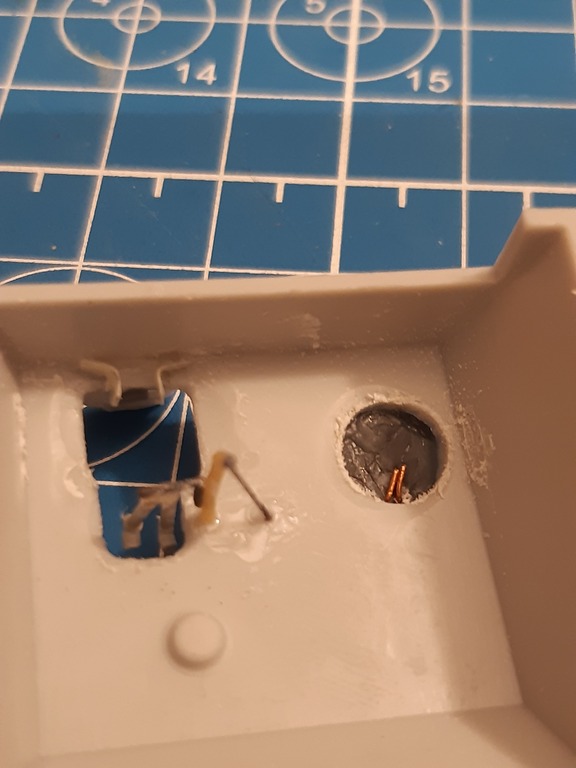
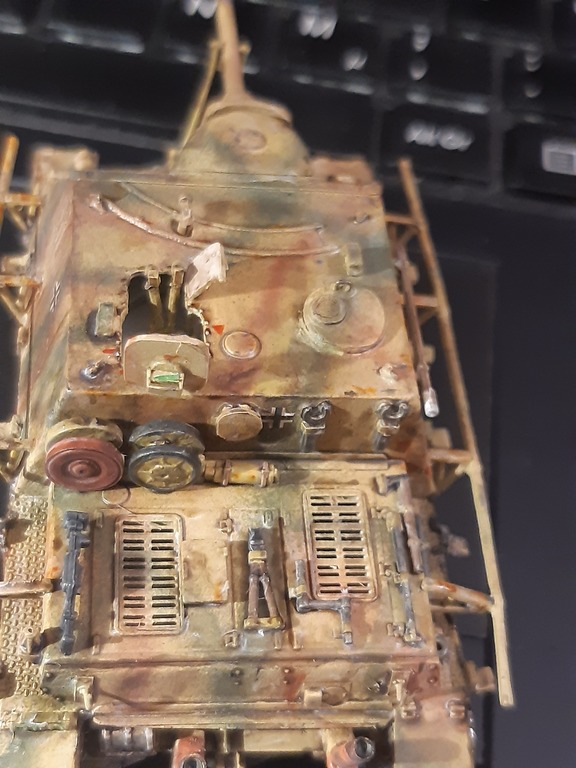
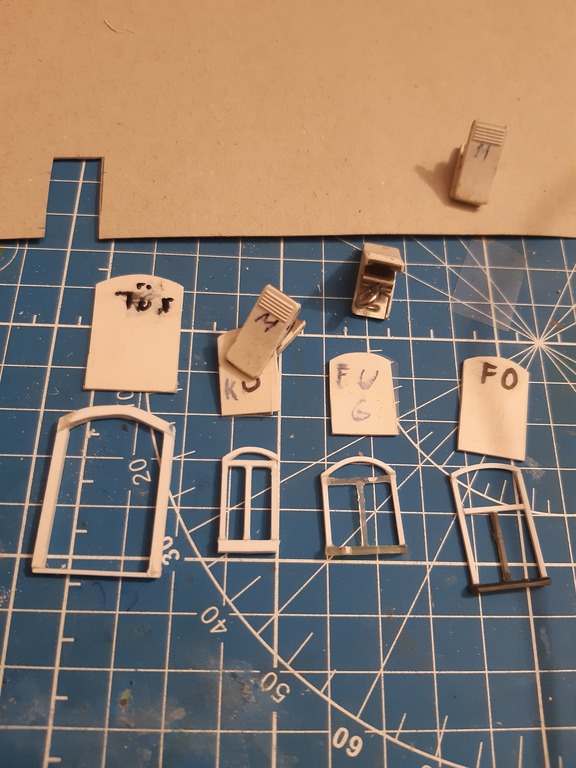
I had to open hatches again, of course. The model was too static for me. So inside thin milled, from the outside, with 0.7mm carefully drilled out the hatches, then very carefully cut and file to the beautiful fine rivet rows. Of course make new hatches. With inner angle mirrors ,hinge, handles etc. I also added a scissor telescope for the commander, which is not part of the BS. The gunner's hatch is slightly open for better ventilation of the interior.
Again, nice etched parts.
Part follows soon, I hope I have aroused your interest.
Greetings Jürgen
JurgenH  Germany
 
Posts: 190
Member since:
01 Aug 2022, 20:28


Posted by Ochoin on 25 Aug 2023, 20:50

Back in the day, there were modelling magazines that went into things with this much detail. They're all gone so I doubly value Jurgen's posts.

donald
User avatar
Ochoin  Scotland
 
Posts: 2491
Member since:
16 Jan 2010, 04:00

Posted by JurgenH on 28 Aug 2023, 15:47

Hello all
Here is now Part 2

Part 2
Hello it goes on.
Image
Upper hull:
There was one sink spot to work on (green filler spot) and the bullet deflector has to be removed completely. Only rough because the superstructure is coming over it.
The superstructure has a very nice fine casting structure unfortunately with 2 ejector marks in front.
Saved by careful -sanding over. Lightly wetted with Tamiya extra Thinn glue and dabbed with very hard bristle brush. Nothing more to see .thank goodness.

Image

Image

Image

During a fit test of the O tub and U tub, I found that there very badly fits a chain between them. So chain plates mill thinner.
Also done. Now it is completed and then it goes to primerImage

Image

Image

Image

Image

Image

Image


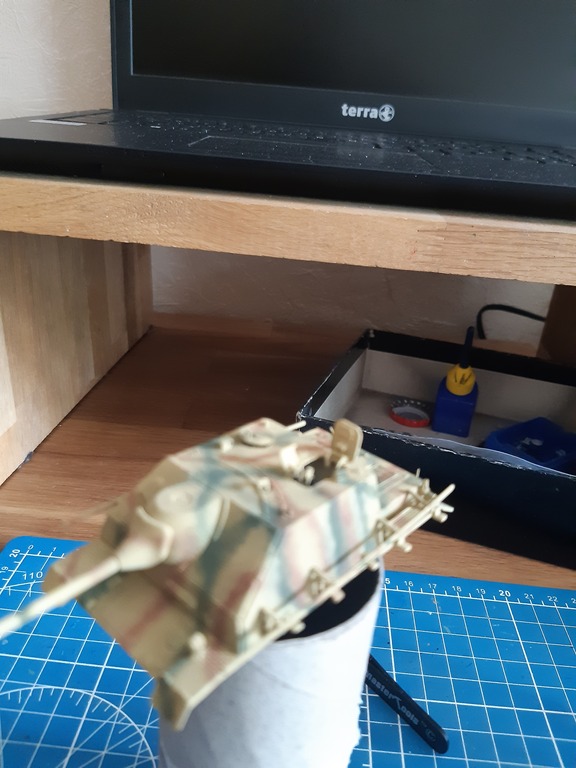
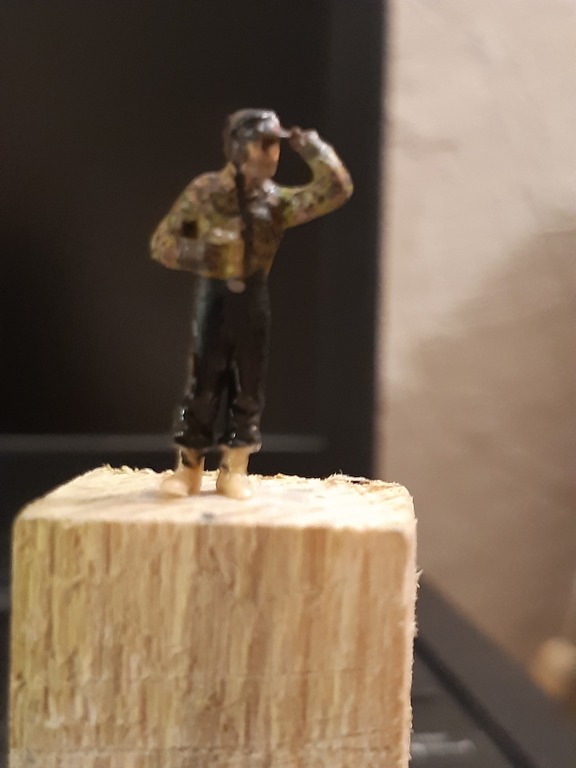
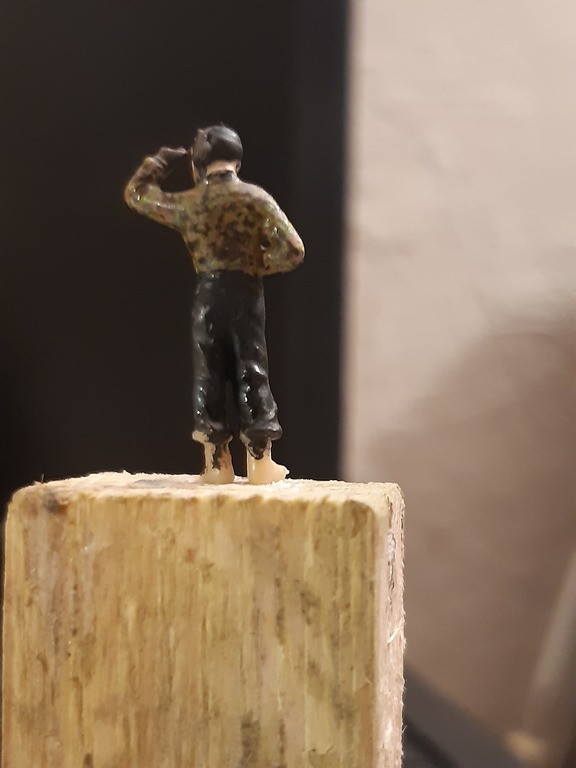
In between I rebuilt the commander a bit and finished the color. Esci figure.


Image

Image

Image

Now the final images. Have fun with it.
Image

Image

Image

Image
This was the first building block to a diorama.
greetings Jürgen
JurgenH  Germany
 
Posts: 190
Member since:
01 Aug 2022, 20:28

Posted by JurgenH on 08 Sep 2023, 16:09

Hello all
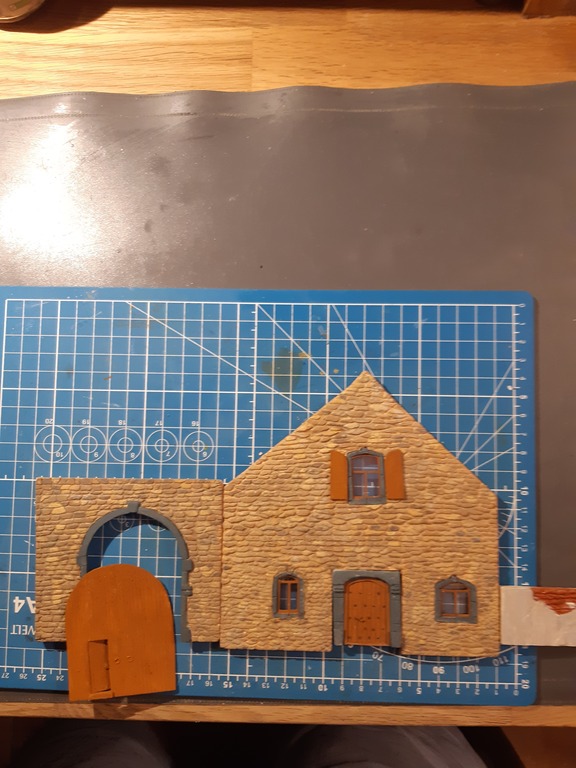
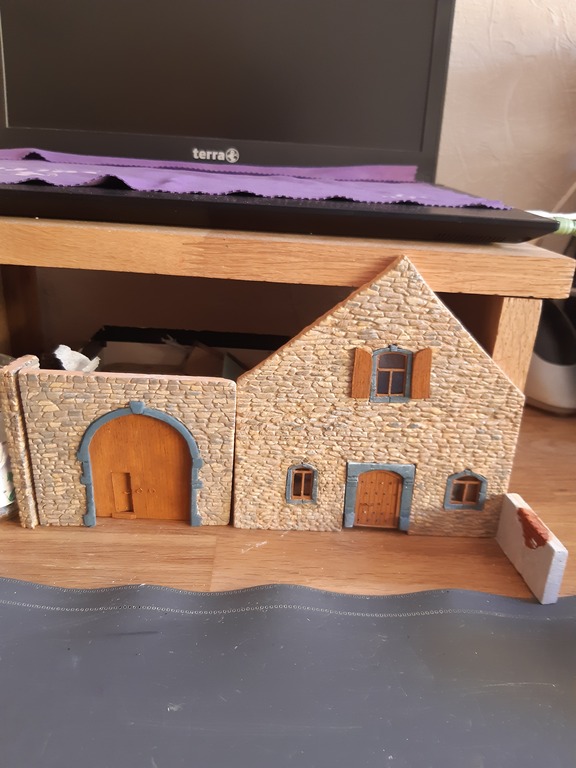
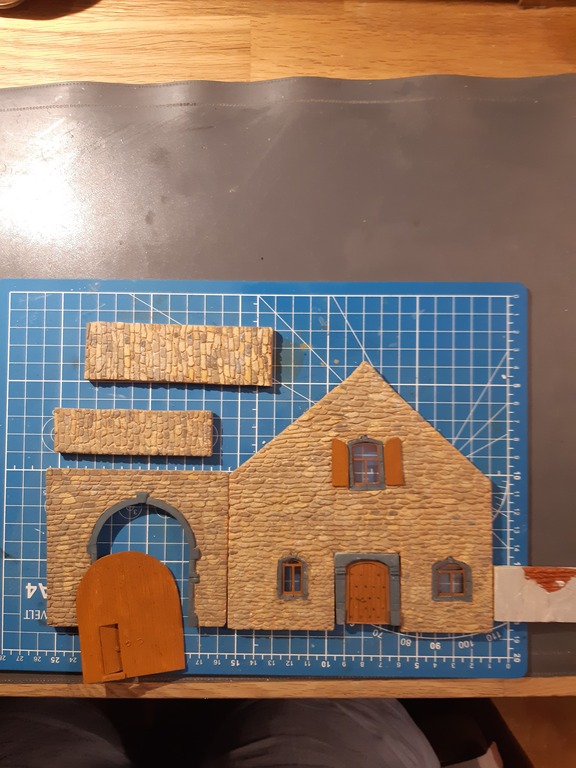
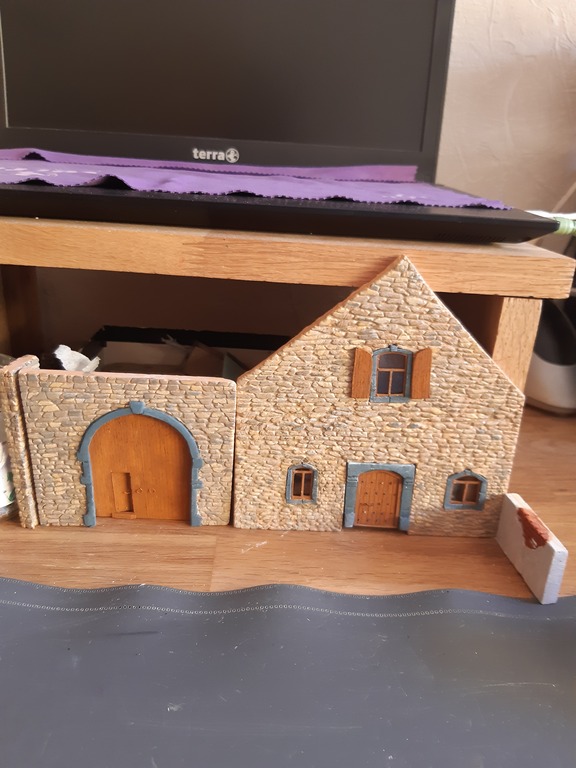
I haven't posted in a while, I read a lot but hardly commented. I was also very busy with my project, which is very time consuming. I think it's time for a little update.
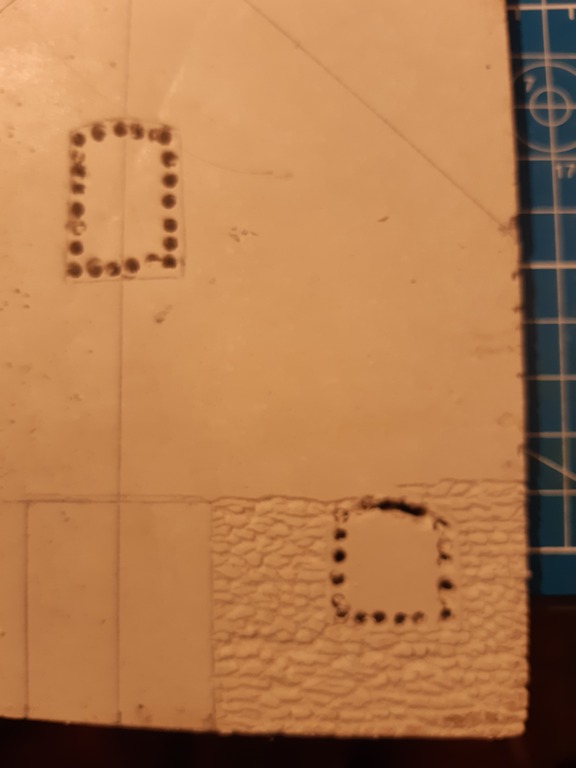
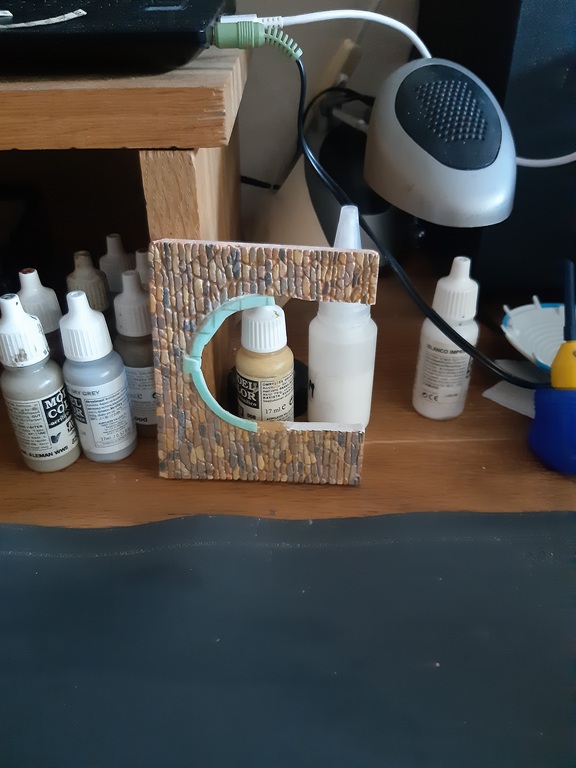
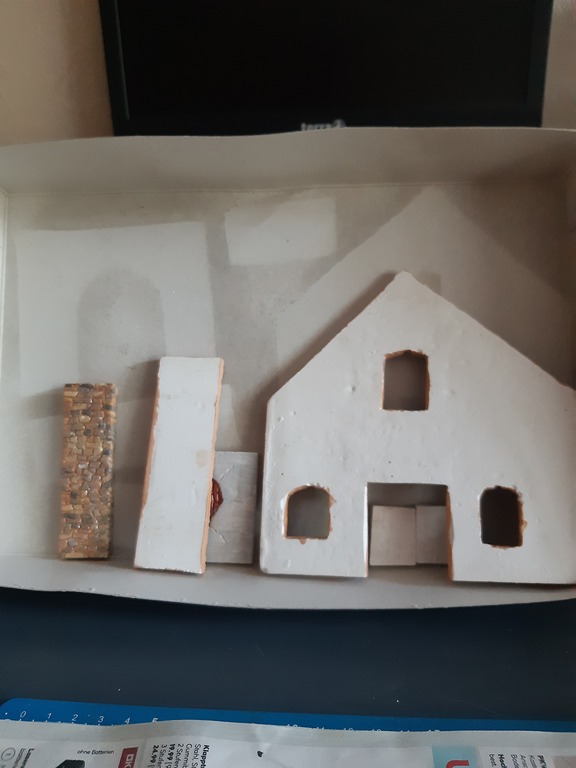
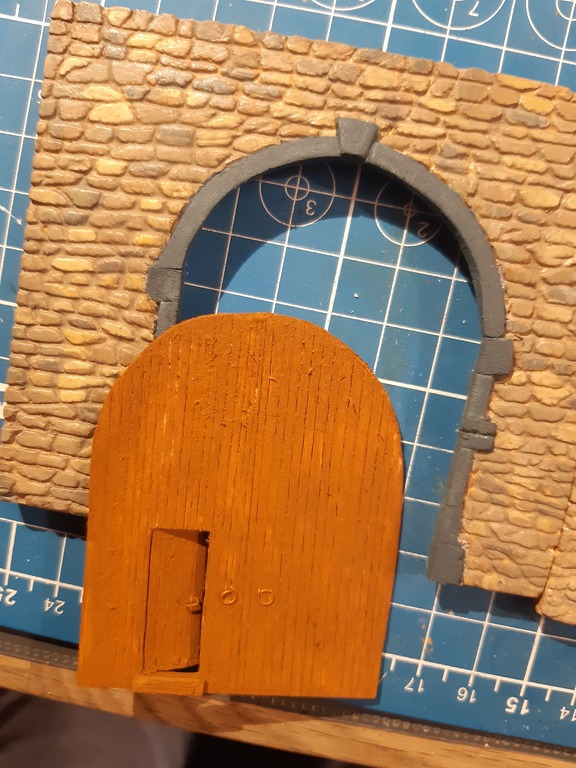
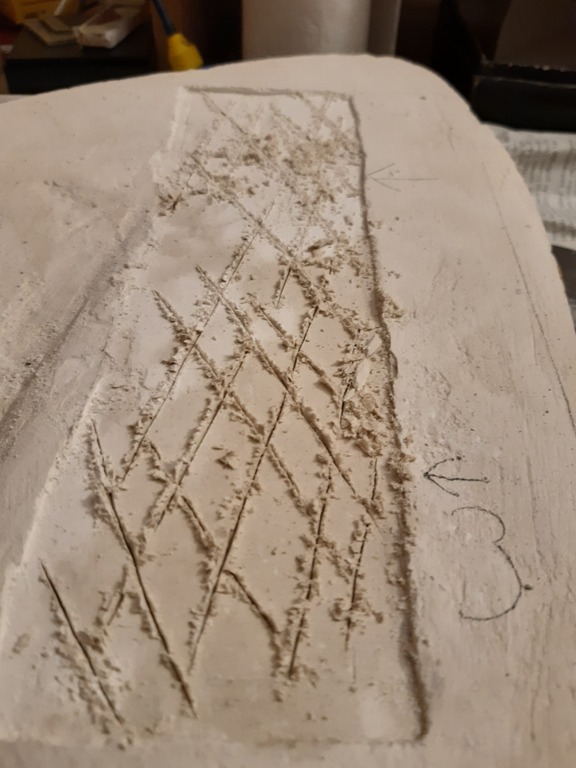
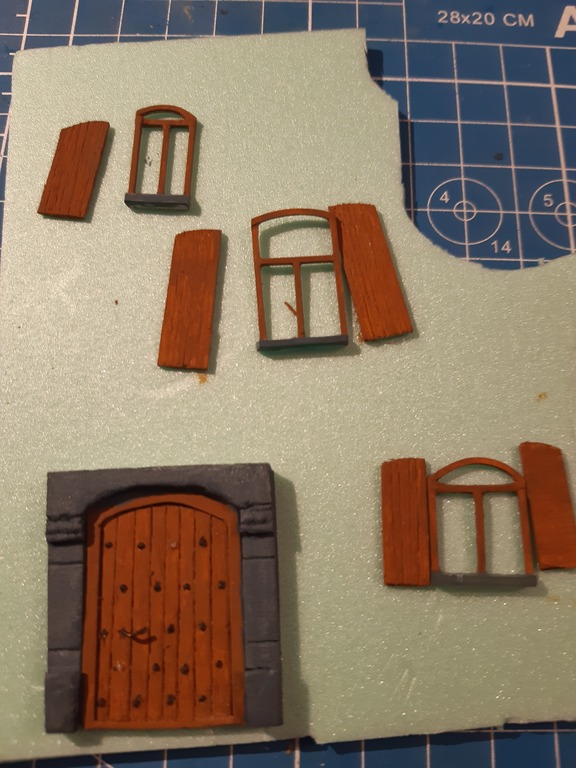
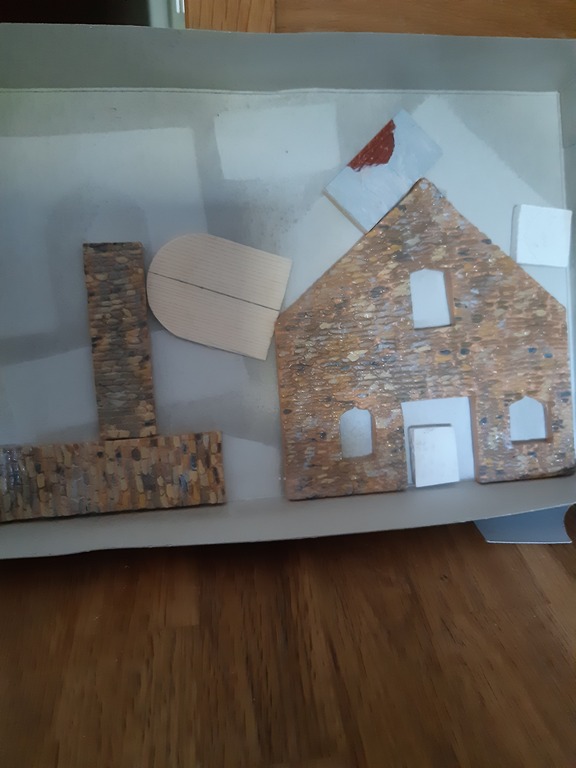
The colour design of the wall parts is finished, everything is cut and painted. The roof and some accessories are still missing. The walls are engraved from self-cast
plasterboards. Wooden parts from a Camembert box.
The bluestone edgings are made of impact sound insulation from laminate flooring. If you have any questions, I will be happy to answer them.
Image

Image

Image

Image

Image

Image

Image

Image

Image

Image
Greetings Jürgen
JurgenH  Germany
 
Posts: 190
Member since:
01 Aug 2022, 20:28

Posted by MABO on 12 Sep 2023, 22:51

The house looks really good! great build from the scratch.
User avatar
MABO  Europe
Supporting Member (Gold) Supporting Member (Gold)
 
Posts: 9170
Member since:
12 May 2008, 18:01

Posted by Peter on 30 Sep 2023, 21:35

It looks very nice so far! I like the tank, but how you did those building parts, hat of sir! :thumbup:
User avatar
Peter  Belgium

Moderator Moderator
 
Posts: 22750
Member since:
25 Mar 2008, 18:51

Help keep the forum online!
or become a supporting member

Posted by JurgenH on 20 Oct 2023, 20:28

Hello people
I am in the process of building a bsae for an Ardennes Hürtgenwald Dio.a time-consuming job. i didn't have much time,or something always came up. A new kitchen, with renovation work, a holiday, and a few other little things.
Now the work is quite advanced, as I am already working as a landscape gardener.

Time for a little update. I took a few pictures of the construction stages. These were a bit more time-consuming than I thought. I also had some problems with time (holidays, kitchen renovation and other hobbies) but it goes on.
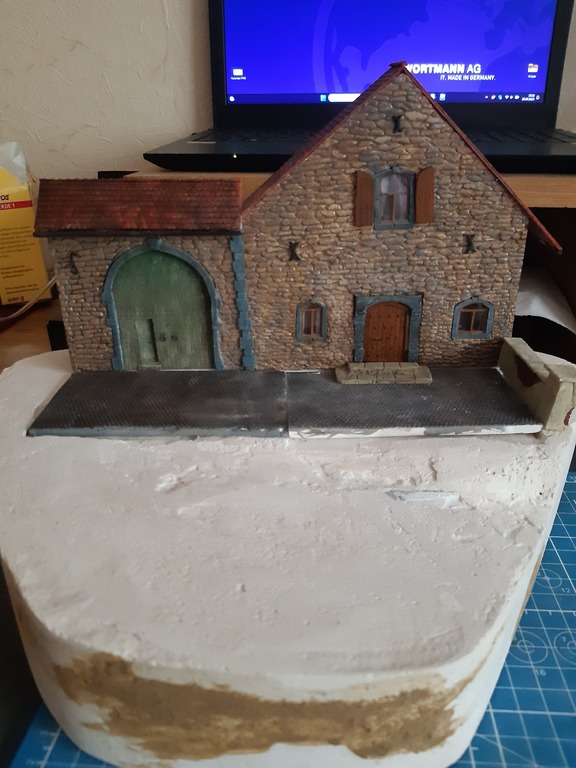
First a picture of the last state, then the update.

Image

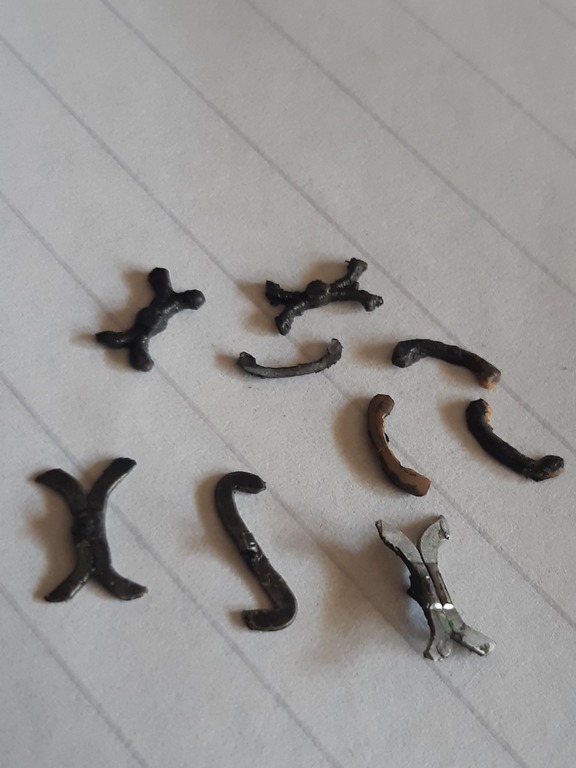
I have made wall anchors out of solder and flattened them with pliers.

Image

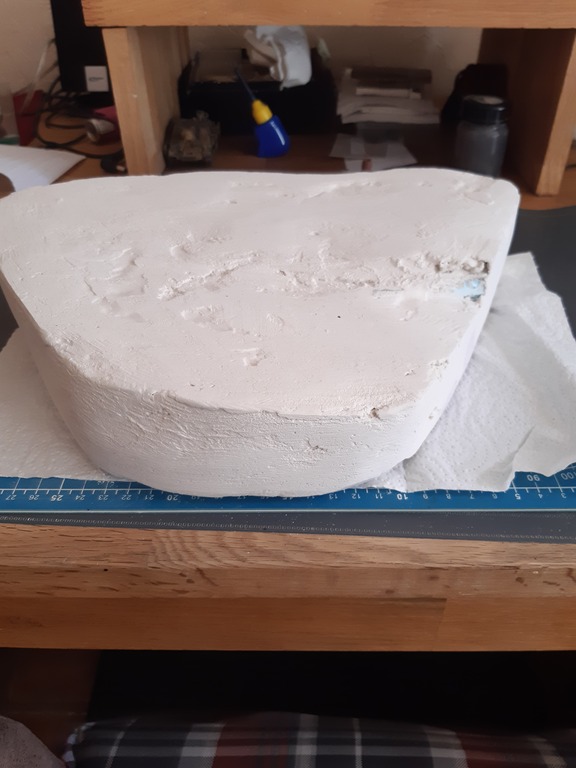
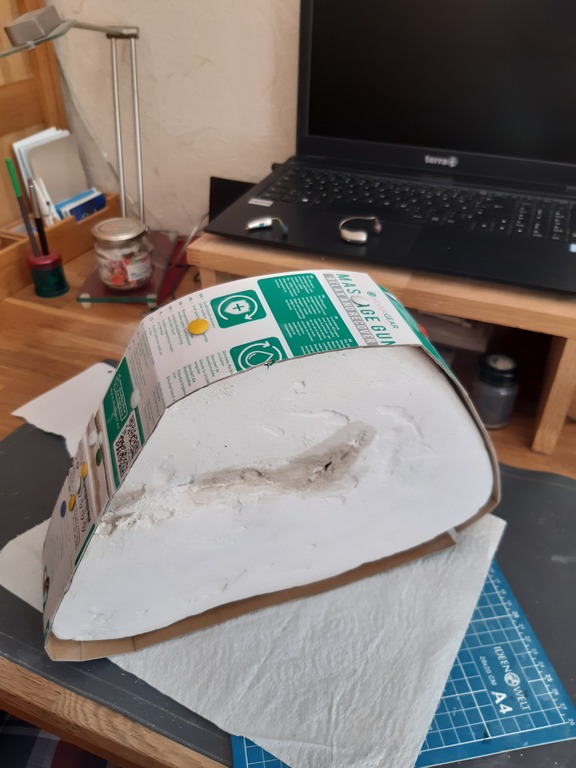
Then came the base. Two 40mm Styrodur blocks were glued together with silicone and cut to size. I still had some red tape plaster left over from the kitchen renovation. I put it on and around the base.
Image

Image

Then I dug in the street paving slabs for the front yard a bit so the base wouldn't be any heavier.
Image

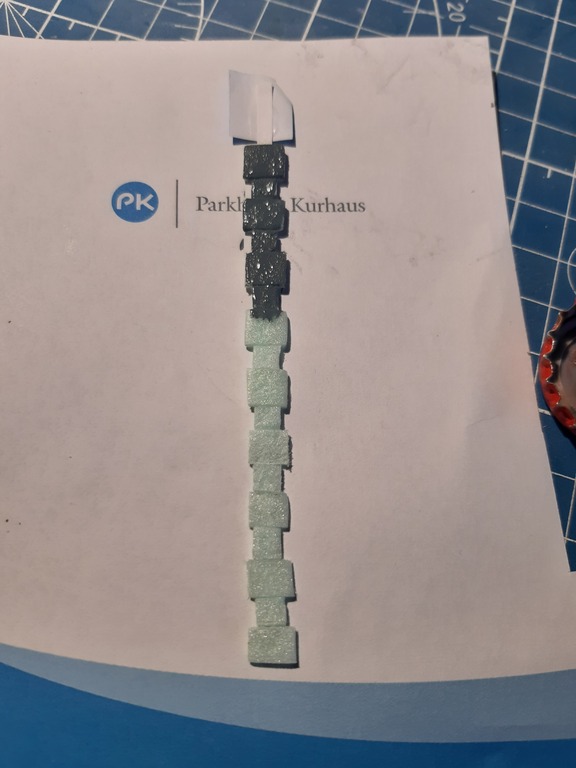
I then cut the bluestone cornerstones from insulation material for laminate to conceal the connection between the house and the gate section.
Image

Image

Then I dug in the street paving slabs for the front yard a bit so the base wouldn't be any heavier.
Image

I then cut the bluestone cornerstones from insulation material for laminate to conceal the connection between the house and the gate section.
Image

Image

Then I dug in the street paving slabs for the front yard a bit so the base wouldn't be any heavier.
Image

I then cut the bluestone cornerstones from insulation material for laminate to conceal the connection between the house and the gate section.
Image

Finally, a set-up rehearsal. All good.

Image
Section 3 comes soon

greetings Jürgen
JurgenH  Germany
 
Posts: 190
Member since:
01 Aug 2022, 20:28

Posted by agrippa on 27 Oct 2023, 10:49

great Job
agrippa  Germany
 
Posts: 22
Member since:
10 Oct 2022, 07:56


Return to Work in Progress